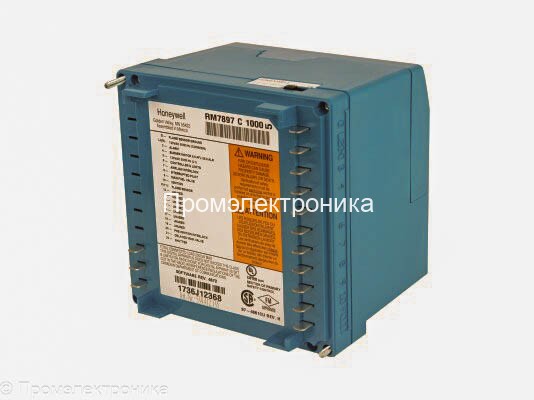
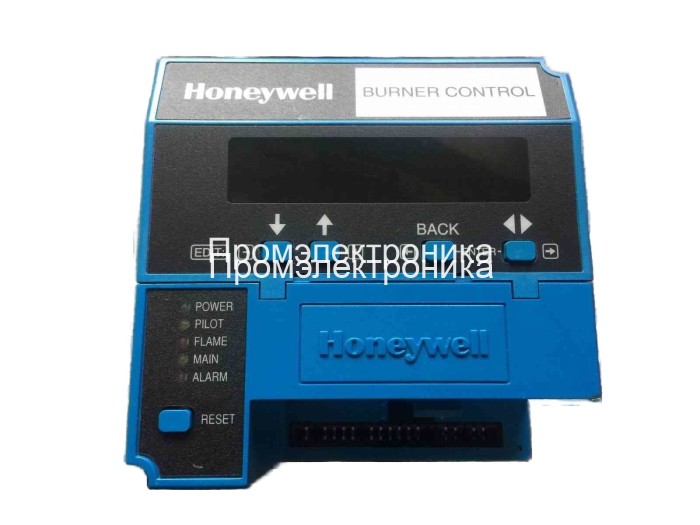
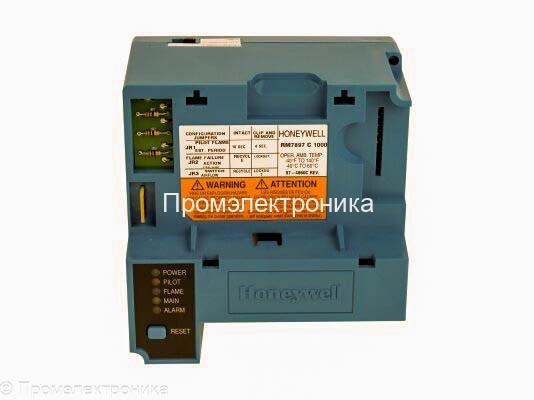
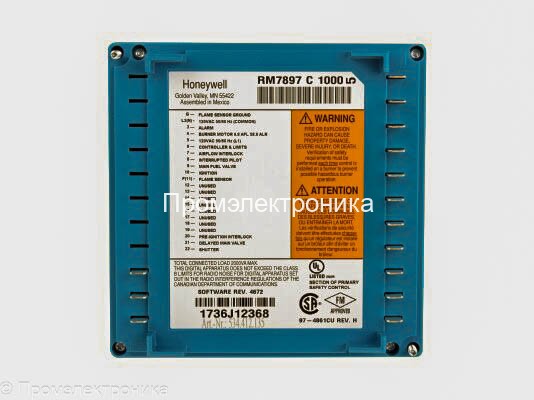
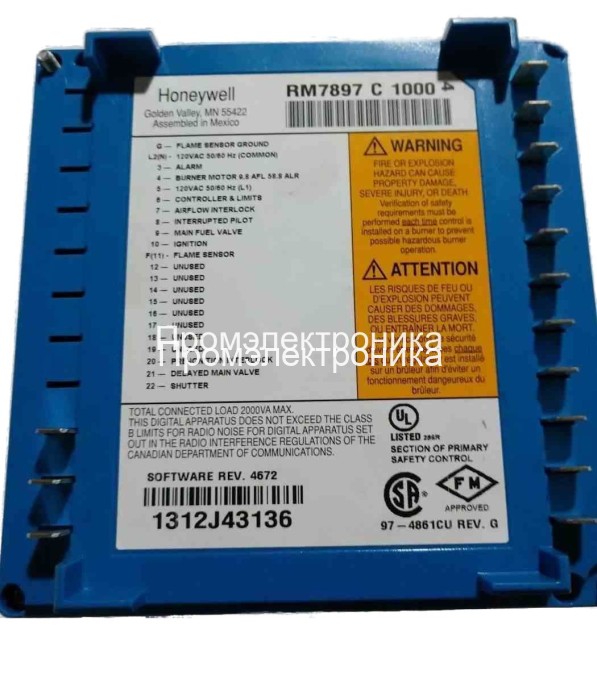
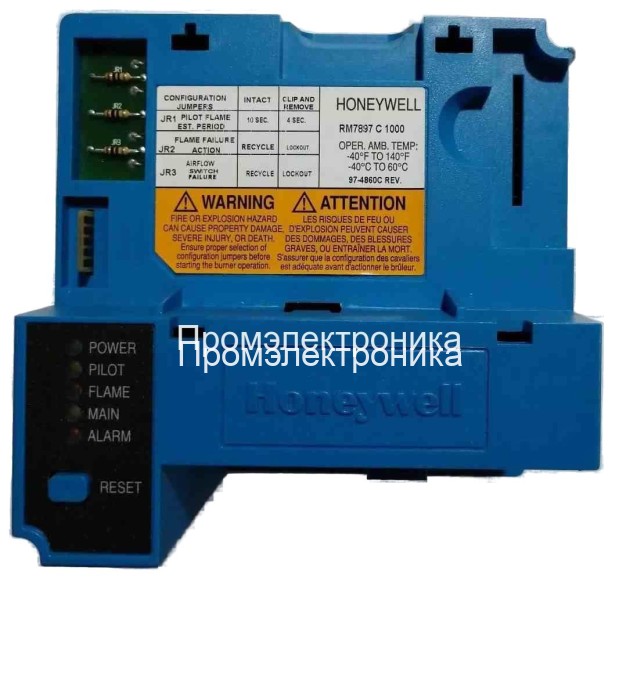
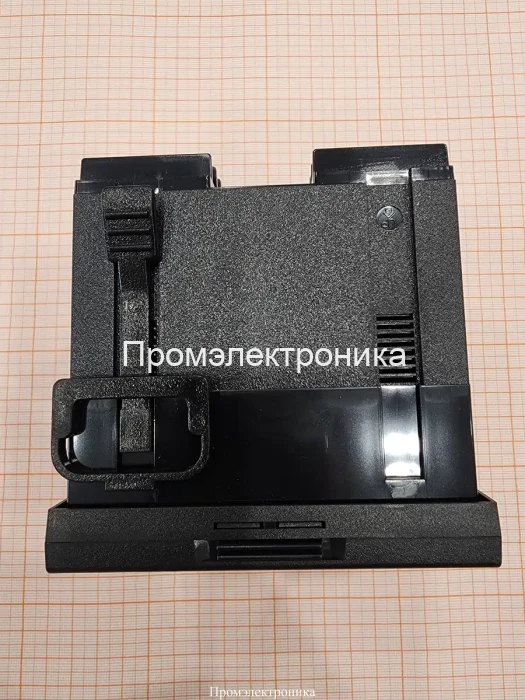
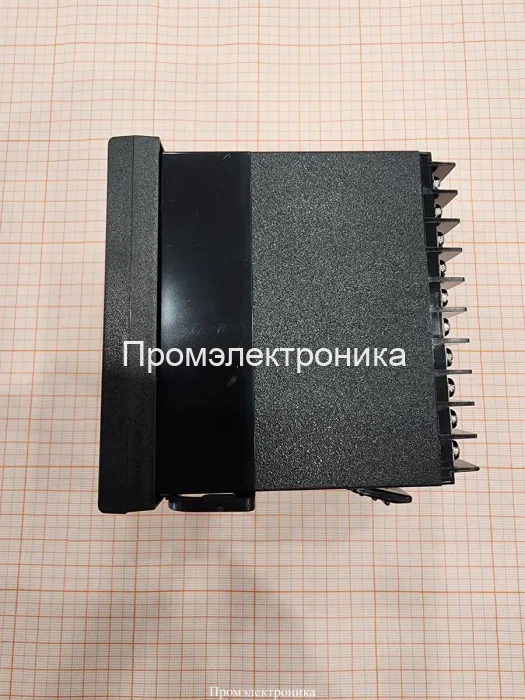
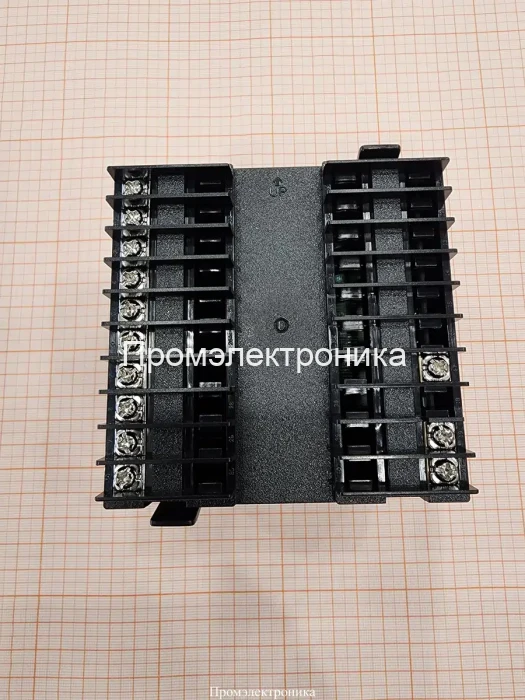
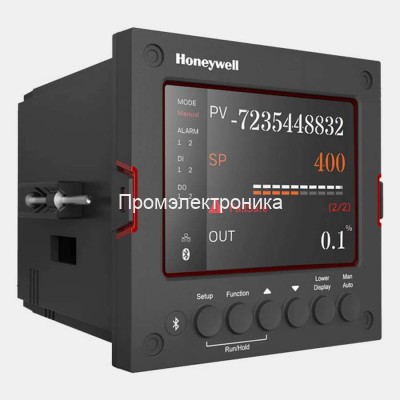
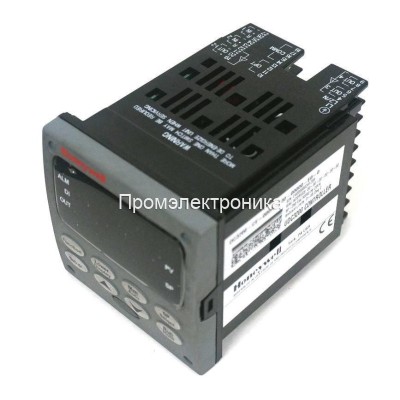
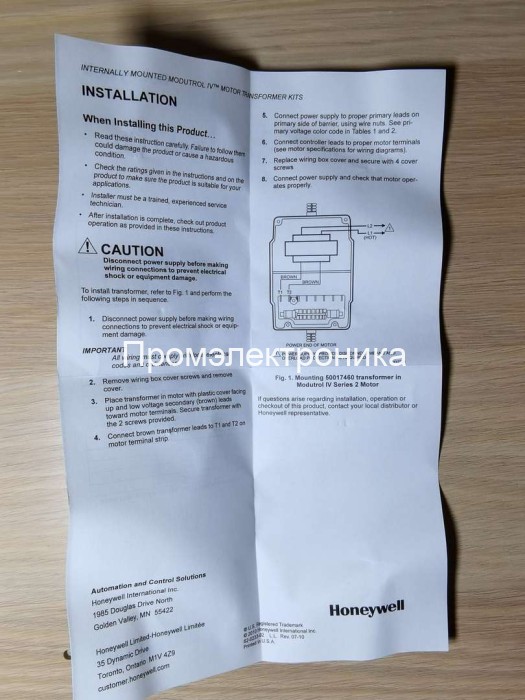
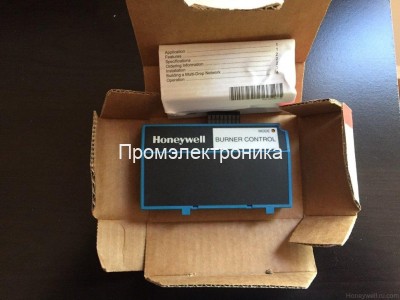
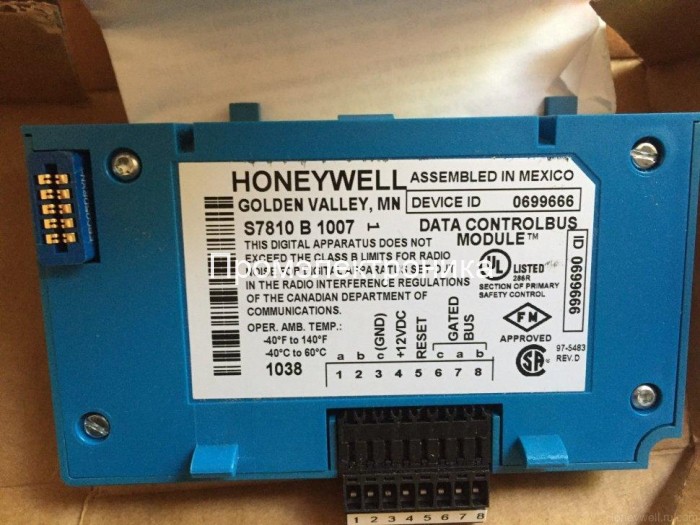
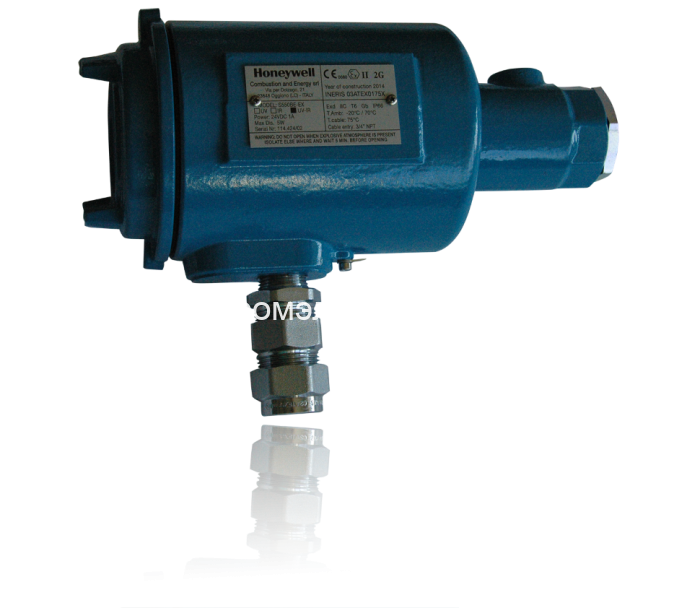
Honeywell RM7897C1000
Топочный автомат Honeywell RM7897C1000 – полное описание и технические характеристики
Введение
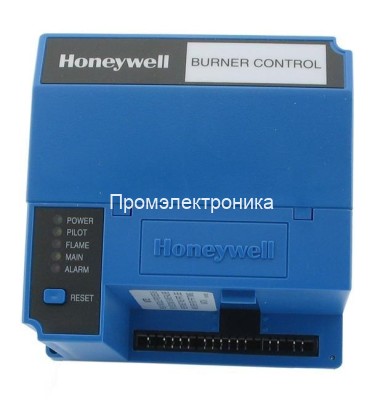
Контроллер горения Honeywell RM7897C1000 – это высокотехнологичное решение для управления и контроля процессов горения в промышленных и коммерческих горелочных установках. Устройство разработано для обеспечения максимальной безопасности, энергоэффективности и точности. Модель RM7897C1000 используется в одно- и двухтопливных горелках, работающих на газе или жидком топливе, что делает её универсальным инструментом для автоматизации горелочных систем любой мощности.
Компания Промэлектроника, официальный дистрибьютор Honeywell в России, предлагает оригинальные топочные автоматы Honeywell RM7897C1000 с гарантией качества и технической поддержки. Для заказа или консультации свяжитесь с нами по email: sales@prom-elec.com.
Основные функции Honeywell RM7897C1000
1. Контроль горения
Устройство оснащено передовой системой мониторинга пламени. Топочный автомат Honeywell RM7897C1000 обеспечивает надёжный контроль процесса горения, снижая вероятность аварийных ситуаций. Встроенные функции диагностики позволяют оперативно определять и устранять неисправности.
2. Индикация состояния
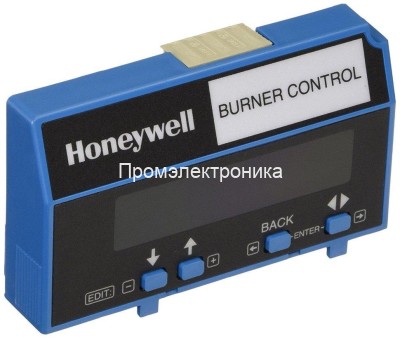
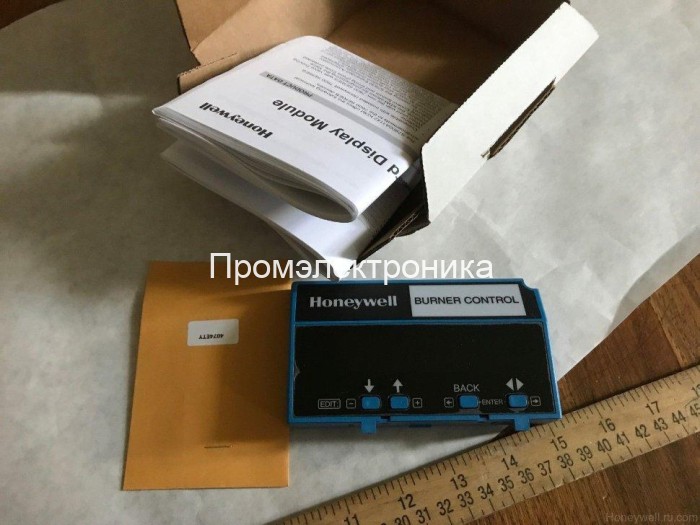
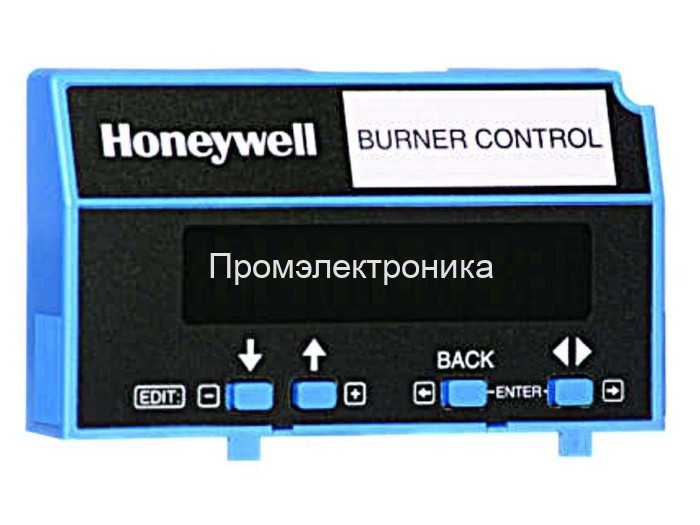
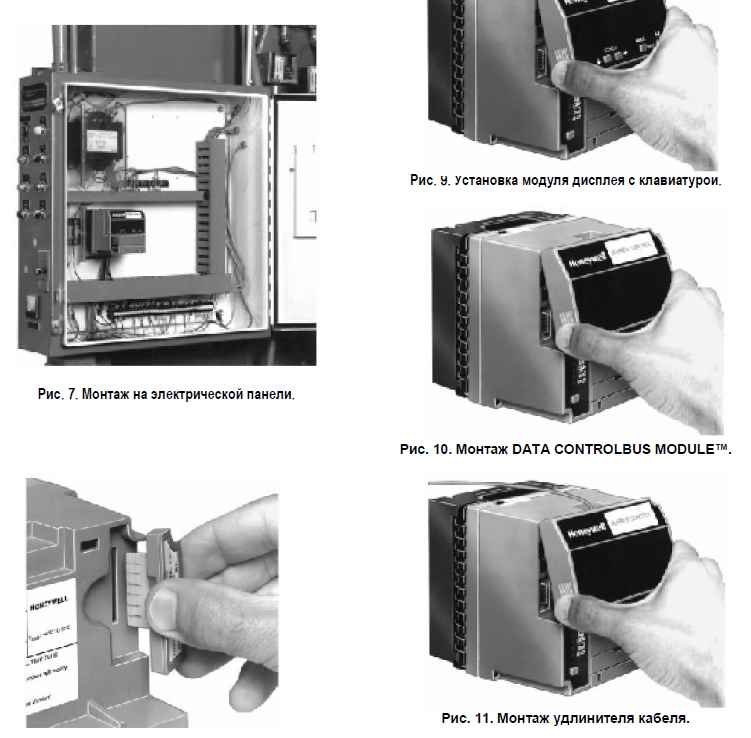
На каждом этапе работы система предоставляет информацию о текущих процессах: состояние горелки, фазы программы, ошибки или предупреждения. Дополнительный дисплей с клавиатурой (опционально) делает процесс управления интуитивно понятным.
3. Поддержка диагностики
Honeywell RM7897C1000 оборудован микропроцессорной системой диагностики, которая обеспечивает точное определение неисправностей. Данные сохраняются в энергонезависимой памяти, что позволяет пользователю анализировать ошибки даже после перезапуска устройства.
4. Универсальность
Топочный автомат поддерживает работу с различными типами горелок:
- Однотопливные (газ или жидкое топливо);
- Двухтопливные системы (газ и жидкое топливо).
5. Защита данных
Системные настройки защищены паролем, предотвращая случайные изменения или несанкционированный доступ.
6. Европейские стандарты
Honeywell RM7897C1000 соответствует всем актуальным стандартам безопасности и качества, что делает его оптимальным выбором для промышленного применения.
Преимущества использования Honeywell RM7897C1000
Совместимость
Устройство совместимо со всеми моделями детекторов и электродов пламени Honeywell, что облегчает интеграцию в существующие системы.
Высокая точность
Микропроцессорная технология гарантирует стабильность работы даже в сложных условиях эксплуатации.
Надёжность
Корпус устройства выполнен из ударопрочного материала, устойчивого к высоким температурам. Электрозащита стандарта IP40 обеспечивает долгий срок службы.
Модульность
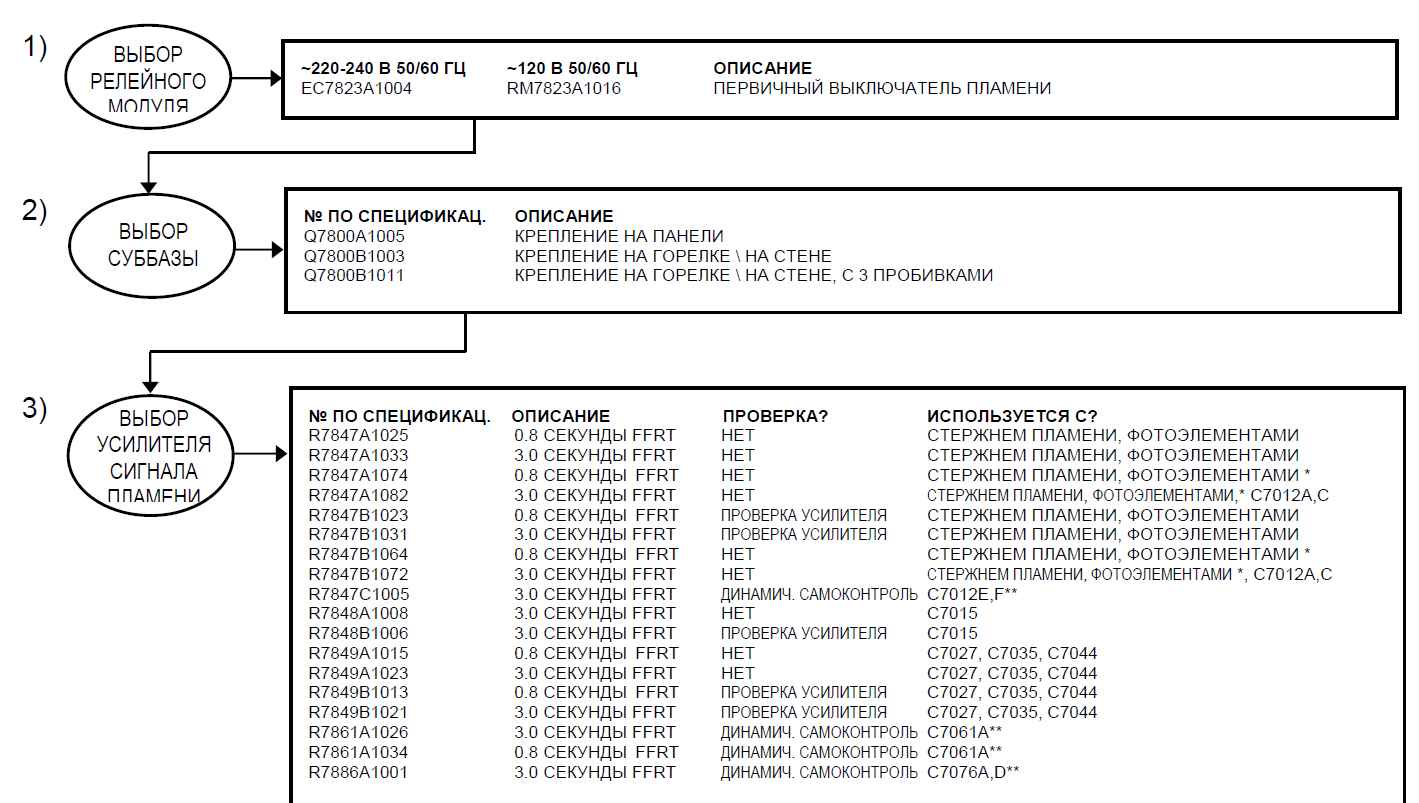
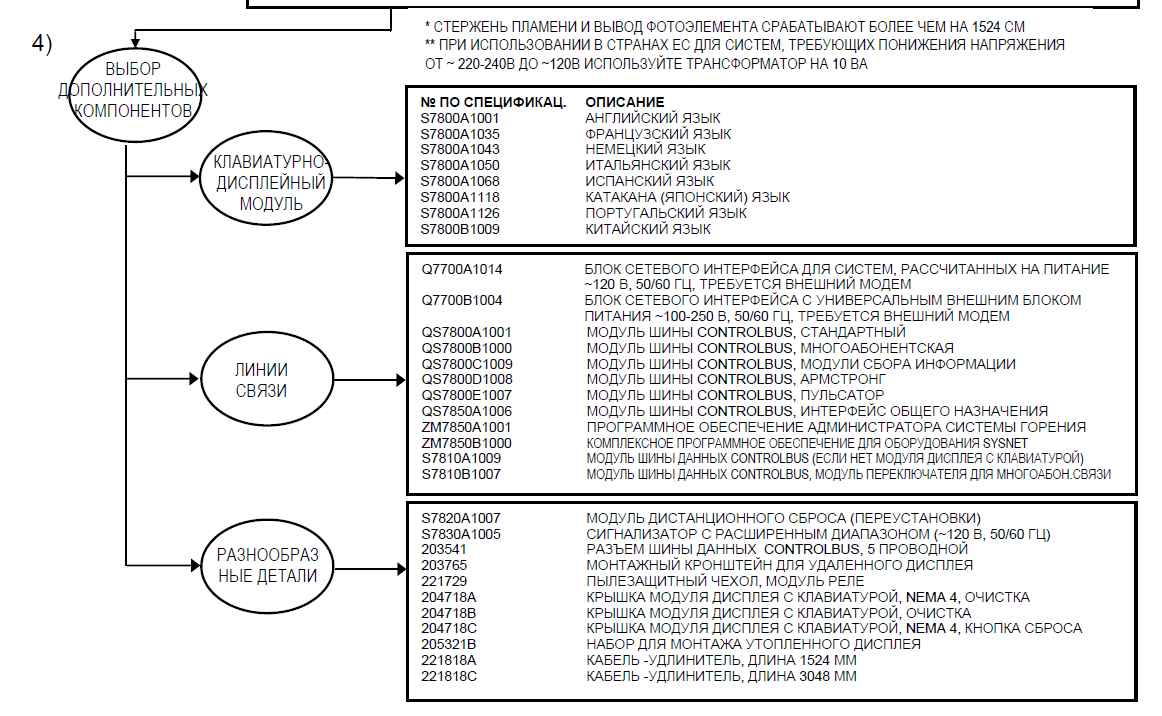
Доступен широкий выбор дополнительных компонентов:
- Дисплей с клавиатурой;
- Устройства удалённого сброса;
- Пылезащитные чехлы;
- Модули шины данных;
- Расширенные системы диагностики.
Комплектация Honeywell RM7897C1000
В стандартную комплектацию входит:
- Релейный модуль;
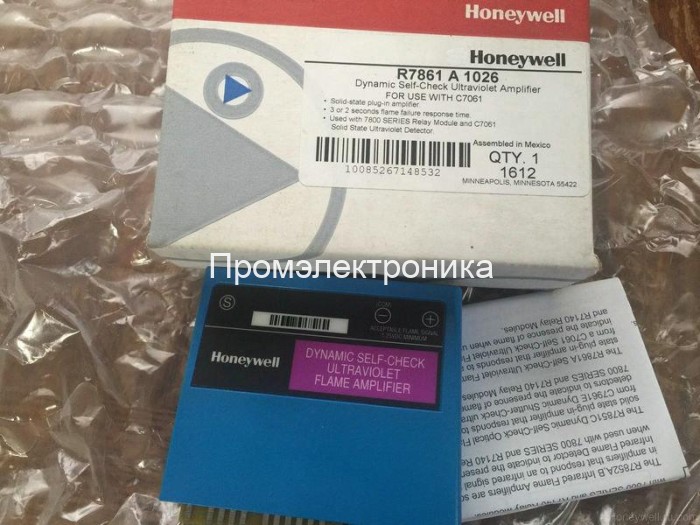
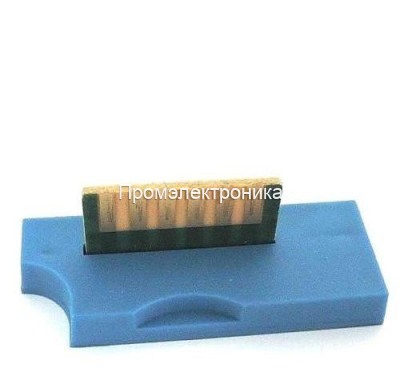
- Усилитель сигнала пламени;
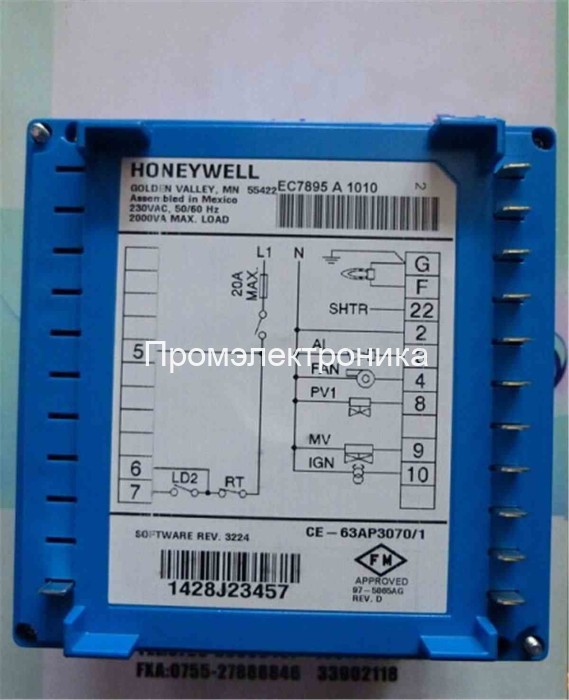
- Суббаза.
Дополнительно доступны:
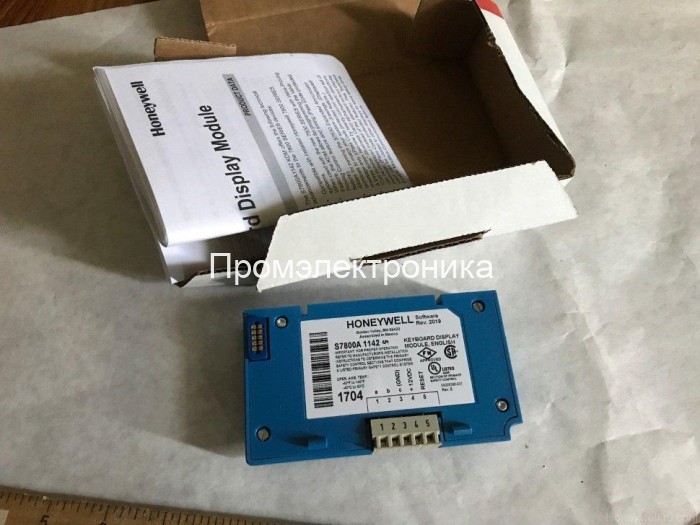
- Дисплей с клавиатурой (S7800A1142);
- Устройство удалённого сброса;
- Модуль шины данных;
- Кронштейны для крепления;
- Пылезащитные аксессуары.
Технические характеристики Honeywell RM7897C1000
- Напряжение питания: 120 В AC
- Диапазон рабочих температур: -40…+60 °C
- Степень защиты корпуса: IP40
- Поддерживаемые виды топлива: Газ, жидкое топливо
- Совместимость: Датчики и электроды Honeywell
- Встроенная память: Энергонезависимая
- Диагностические функции: Системная и самодиагностика
- Индикация состояния: Светодиодная, опционально – дисплей
Применение Honeywell RM7897C1000
Области применения:
- Промышленные котельные;
- Тепловые станции;
- Коммерческие отопительные системы;
- Горелочные установки для технологического обогрева.
Примеры применения:
- Управление однотопливными системами в котельных;
- Автоматизация горелок с жидкотопливным и газовым оборудованием;
- Обеспечение безопасности при работе с высокотемпературными горелками.
Особенности конструкции
Ударопрочный корпус
Корпус Honeywell RM7897C1000 выполнен из материалов, устойчивых к механическим повреждениям и высоким температурам.
Интеллектуальная система управления
Микропроцессорная платформа обеспечивает точное и стабильное управление процессами горения.
Интеграция в системы автоматизации
Топочный автомат может быть легко интегрирован в существующие системы управления благодаря поддержке различных интерфейсов.
Почему выбирают Honeywell RM7897C1000?
- Официальный дистрибьютор: Промэлектроника – гарант качества и оригинального оборудования.
- Высокая надёжность: Соответствие строгим стандартам безопасности.
- Техническая поддержка: Консультации специалистов и помощь в интеграции.
Для заказа или получения консультации напишите нам на email: sales@prom-elec.com или позвоните нашим менеджерам.
Honeywell RM7897C1000 – надёжное решение для автоматизации горелочных систем!
Бренды | Honeywell |
Помогите другим пользователям с выбором - будьте первым, кто поделится своим мнением об этом товаре.
КОНТРОЛЬ СОСТОЯНИЯ АППАРАТНЫХ КОМПОНЕНТОВ ОБОРУДОВАНИЯ
Релейный модуль RM7897C1000 проверяет полярность карты продувки для предотвращения смещения времени продувки и отказов цепи. Он также проверяет, не повреждены ли переключатели конфигурации и аппаратные компоненты. Светодиод POWER мигает каждые 4 секунды, что является признаком выполнения теста оборудования.
ТЕСТ ЛОГИЧЕСКИХ СХЕМ
Этот тест проверяет целостность всех критичных нагрузок, клемм 8, 9, 10 и 21. Если нагрузки не запитываются правильно; например, на клемму клапана магистрали во время ПРОДУВКИ подается напряжение, то RM7897C1000 будет заблокирован при выполнении безопасного отключения. RM7897C1000 реагирует на изменения на входе и в то же время не допускает ложного отключения. Для правильной работы в условиях обычных электрических помех (например, скачков напряжения) на входе линии напряжения выполняется обработка сигналов. Обработка сигналов нечувствительна к синхронным помехам (шумам в линии, возникающим в одно и то же время во время каждого цикла линии).
ДИНАМИЧЕСКИЙ AMPLI-CHECK™
Динамический тест цепи AMPLI-CHECK™ проверяет работу усилителя работы пламени во время работы горелки и отключает RM7897C1000 при сбое усилителя.
Динамическая проверка УСИЛИТЕЛЯ ПЛАМЕНИ И ЗАСЛОНКИ
При самотестировании цепи 12 раз в минуту проверяются все электронные компоненты системы обнаружения пламени и в случае обнаружения ошибки RM7897C1000 отключается.
ДИНАМИЧЕСКИЙ ТЕСТ ВВОДА
Выполняется проверка всех входный цепей системы с тем, чтобы убедиться, что RM7897C1000 способен правильно определить состояние внешних управляющих элементов, ограничителей и блокировок. Если при этом тестировании обнаруживается какой то сбой, то происходит защитное отключение и выдается сообщение об ошибке.
ТЕСТ ДИНАМИЧЕСКОГО ЗАЩИТНОГО РЕЛЕ
Проверяется способность динамического защитного реле открываться и закрываться. Также проверяется, могут ли при необходимости критически важные нагрузки, клеммы 8, 9, 10 и 21 обесточиваться логической схемой динамического самотестирования.
ДИНАМИЧЕСКОЕ САМОТЕСТИРОВАНИЕ ЗАЩИТНОЙ ЦЕПИ
Микрокомпьютер проверяет себя и соответствующую аппаратуру в то время, как система защитных реле тестирует работу микрокомпьютера. При возникновении сбоя микрокомпьютера или защитного реле, который препятствует нормальному выполнению процедуры самотестирования, произойдет безопасное отключение и критичная нагрузка будет обесточена.
Раздел 1: Общие вопросы, применимые ко всей серии 7800
Вопрос: Honeywell выпускает версии серии 7800 для напряжения 208–240 В переменного тока?
Ответ: Да, такие модели предназначены для экспорта и не используются в США. Все старые системы на 208–240 В переменного тока следует модернизировать до 120 В. Согласно требованиям страховых организаций и сертификационных органов США, системы безопасности пламени должны быть рассчитаны на 120 В, одна сторона должна быть заземлена.
Вопрос: Индикатор "Power" мигает. Это сигнал о неисправности?
Ответ: Нет, индикатор "Power" должен мигать каждые четыре секунды. Это означает, что реле проверяет свои внутренние системы.
Вопрос: Что такое "Initiate"?
Ответ: Во время этапа "Initiate" контроллеры серии 7800 проверяют напряжение и частоту питания. Они должны быть в пределах допустимых значений для продолжения работы. Все устройства серии рассчитаны на 120 В переменного тока и частоту 60 Гц. Допустимые отклонения напряжения: +10%/-15% (102–132 В), частоты: 51–60 Гц. Также доступны модели на 50 Гц.
Вопрос: Каждый раз при запросе на нагрев активируется этап "Initiate"?
Ответ: Нет, этап "Initiate" активируется только при первом включении устройства или при выходе питания за допустимые пределы.
Вопрос: Какова минимальная длительность этапа "Initiate"?
Ответ: Минимум 10 секунд. Исключение составляли старые модели RM7890, выпущенные до октября 1994 года, у которых этап длился 2 секунды.
Вопрос: Может ли этап "Initiate" длиться дольше?
Ответ: Да, если напряжение или частота питания не соответствуют нормам, запускается период ожидания ("hold"). Если параметры приходят в норму, отсчет 10 секунд начинается заново. Максимальная длительность периода ожидания — 4 минуты, после чего произойдет блокировка.
Вопрос: В чем разница между "safe-start check" и "Initiate"?
Ответ: "Initiate" проверяет параметры питания при запуске. "Safe-start check" проверяет наличие сигнала пламени как в режиме ожидания, так и при каждом запуске нагрева, а также проводит тестирование всех цепей и выходов.
Раздел 2: Основные функции
Вопрос: Можно ли использовать RM7890 с постоянным пилотным пламенем?
Ответ: Да, но потребуется дополнительное реле. Подключите реле с катушкой 120 В переменного тока между клеммами 8 и L2 базы Q7800. Контакты реле соедините между клеммой F и электродом пламени.
Вопрос: Возможно ли использовать низковольтный контроллер с RM7890?
Ответ: Нет, в серии 7800 нет источника питания 24 В переменного тока. Для замены старого контроллера, использующего низковольтный термостат, можно добавить трансформатор и реле.
Вопрос: Что произойдет, если контакты воздушного переключателя не замкнутся вовремя?
Ответ: Если контакт не замкнется, реле либо будет возвращаться к началу этапа продувки (если перемычка JR3 оставлена), либо заблокируется (если перемычка JR3 разомкнута).
Раздел 3: Программаторы
Вопрос: Можно ли использовать RM7840L вместо RM7800L?
Ответ: Да, устройства идентичны по функциональности и схеме подключения. Единственное отличие — RM7840L не комплектуется дисплеем S7800A, но его можно установить отдельно.
Вопрос: Можно ли удалить дисплей S7800A с RM7800, пока горелка работает?
Ответ: Нет, удаление дисплея приведет к немедленной остановке горелки и блокировке.
Вопрос: Что такое "Energy Saving Pre-Purge"?
Ответ: Эта функция есть только у RM7800E. Она включает вентилятор только после того, как переключатель высокой продувки замкнут, что экономит электроэнергию.
Вопрос: Каковы основные различия между моделями RM7800E, L, G, и M?
Ответ: Основные различия заключаются в функциях и конфигурации клемм. Например, RM7800G не имеет клеммы 19, используемой для конфигурации периода задержки главного клапана. RM7800M — это простейшая модель для работы с двухпозиционными горелками.
Для более подробной информации обратитесь к руководству пользователя или свяжитесь с технической поддержкой Honeywell.
Для заказа оборудования Honeywell обращайтесь в отдел продаж:
Телефон для связи с отделом продаж и технической поддержкой:
8-800-350-57-63 (Бесплатный звонок из любой точки РФ)
Whatsapp для связи с отделом продаж и технической поддержкой:
+7958-623-59-59


